Cells are the basic building blocks of your Excel work – everything you do in Excel you do in your cells.
In this tutorial I’ll teach you all the basics about cells and ranges in Excel.
Selecting a cell
To select a cell simply left-click it.
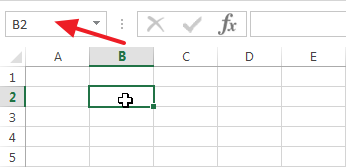
Note that cells have names that identify them. If you look at your worksheet, you see that the rows have numbers and the columns have letters assigned to them.
Because of this, each cell can be described by combining the number of the row and letter of the column. For example in the image below, I selected cell B2.
Entering data in a cell
To insert data into a cell, simply double-click it and type the data you want to input. You can input different types of data: numbers, text, and dates.
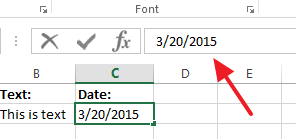
To insert a date, simply write numbers and separate them with a / or - character (like 03/20/2015).

Editing cells
To edit a cell that already contains data you just double-click it again and edit the data inline.
Alternatively, click it and change the value in the Formula bar just above your worksheet followed by pressing Enter.
Selecting a range
A range in Excel is a group of more than one cell. There are different ways to select multiple cells.
1) Click a cell and drag your mouse
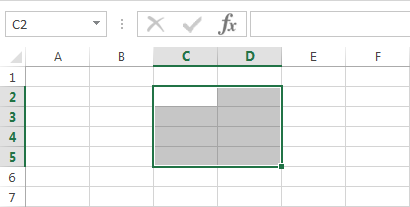
The easiest way to select a range is to simply click you mouse and drag it. As you drag the mouse pointer, you’ll see your selection increasing.
2) Hold the CTRL key while selecting multiple nonadjacent cells
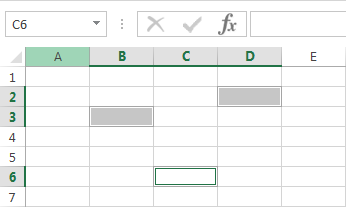
Dragging your mouse only works for selecting adjacent cells. To select cells that are not next to each other, select a cell and then hold the CTRL key before clicking other cells.
Filling a range
A very cool feature in Excel is that it’s easy to fill ranges with data fast without having to enter data in each individual cell. This is called filling a range.
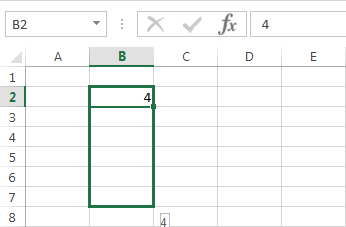
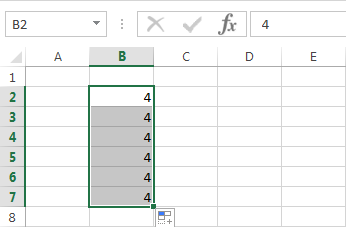
To fill a range, select and hold a cell and move your mouse to a direction. When you release your mouse click, Excel will fill the selected range with the same value that your single cell contained.
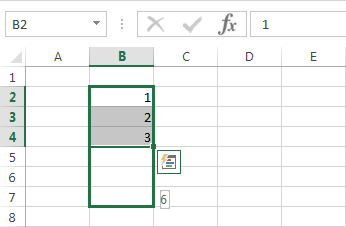
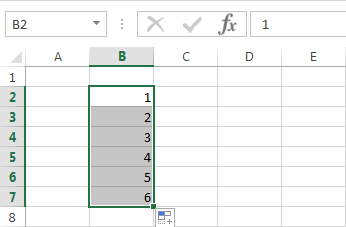
Now comes the interesting part: Excel also can fill a range with a pattern. Let’s say you want to make a range with numbers counting upwards from 1.
- Fill three adjacent cells with 1, 2, and 3.
- Select the range and drag your mouse down
- Release your mouse click and watch magic happen. The range will be filled automatically with the pattern you had in your initial cells.
This not only works for numbers but also for dates. Additionally, Excel doesn’t just fill patterns for immediately following numbers and dates, but will pick up on other patterns too.
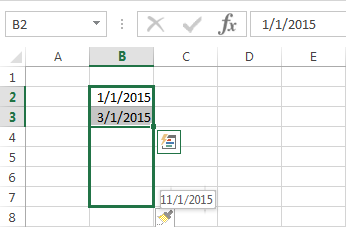
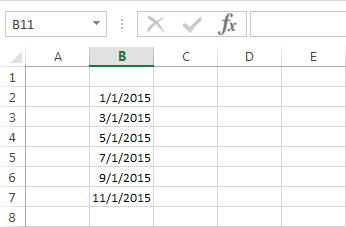
For example, if you want to fill a range skipping a day, simply enter two dates with a day in between and fill the range. Excel automatically recognizes the date pattern.
Moving a range
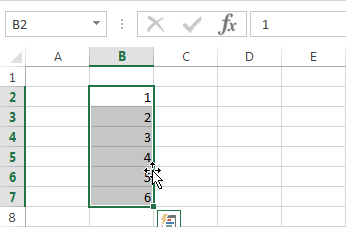
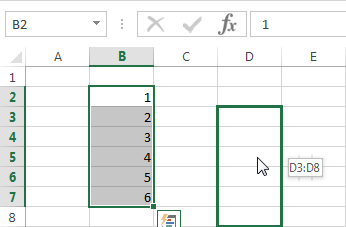
To move a range just select it and then click the border of the cells. Then drag it to where you want it and release your mouse click.
Copying and Pasting a range
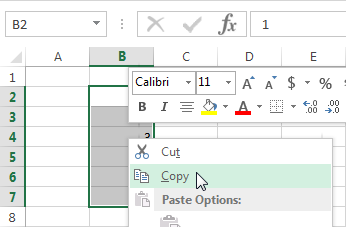
To copy a range, simply press right-click and then Copy. You can also press CTRL+C on your keyboard.
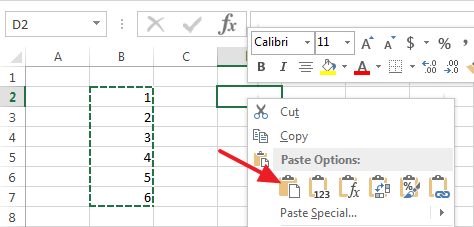
Then go to the cell you want to paste your range and right-click and select Paste. Or press CTRL+V on your keyboard.

Speak Your Mind