Sometimes you need to print a document in Excel but instead of a vertical orientation, you want your cells to be spread horizontally over your print sheet.
So you need to flip your page sideways somehow and show more cells horizontally on your printed page.
In this easy tutorial I’ll teach you how to print your Excel file horizontally.
Changing the print orientation to horizontal in Excel
Complete the following steps to change the orientation of an Excel document.
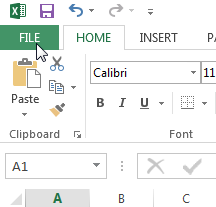
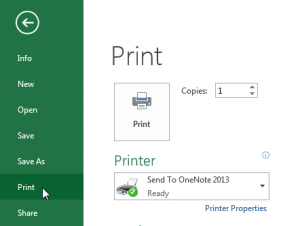
1. Click on the File tab on the top left-hand corner, and afterwards select Print.


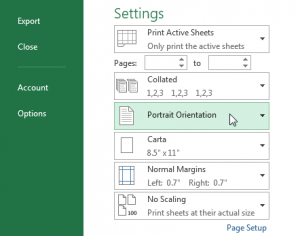
2. Click on the button labeled Portrait Orientation (Note: can be labelled Landscape Orientation depending on whether or not function has been used previously) and select the setting you want.

Portrait Orientation has more rows but fewer columns, while Landscape Orientation has more columns but fewer rows.
If you have any questions about printing in Excel, let me know in the comments:

Speak Your Mind