In this lesson I will show you how to print an Excel worksheet and edit all kinds of print settings to meet your Excel printing needs.
How to print a worksheet in Excel
Complete the following steps in order to print a worksheet in Excel.
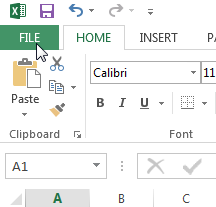
1. Click on the File tab on the top left-hand corner, and afterwards select Print.
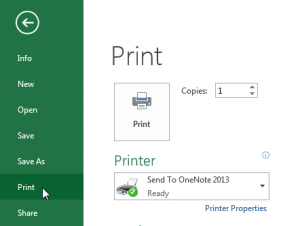
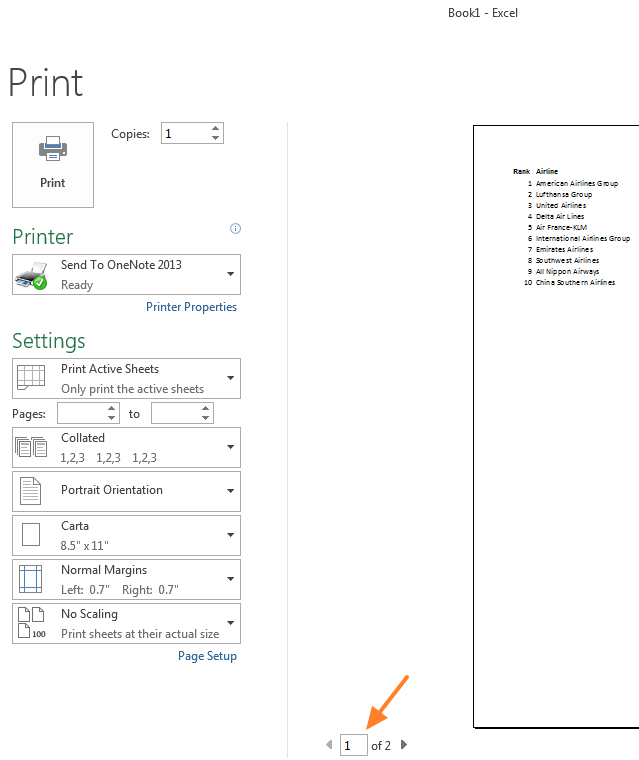
2. A preview of the format in which the Excel worksheet will be printed will appear on the right-side of the screen. You can preview the other pages by clicking Next Page or Previous Page at the bottom of the window.
Print button located on the top of the Settings pane to print the worksheet.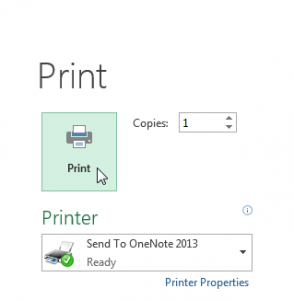
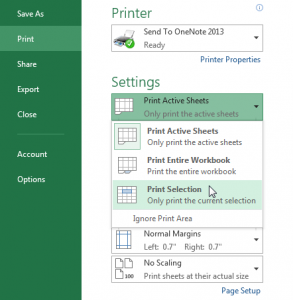
Printing only a specific selection, sheet or page in Excel
If you only want to print specific sections of an Excel worksheet instead of the entire document, you can do the following:
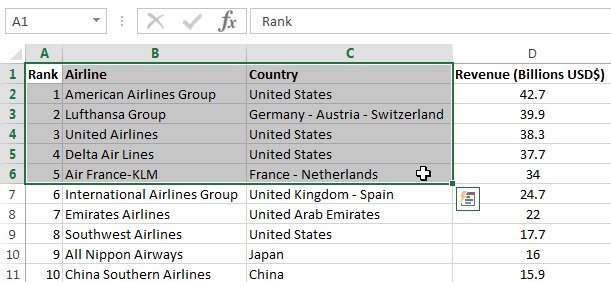
1. Select the range of cells you want to print with your cursor.
2. Click on the File tab on the top left-hand corner, and afterwards select Print.
3. Select the option Print Selection under Settings.
4. Click the Print button located on top of the Settings pane to print the selected section of the Excel worksheet.
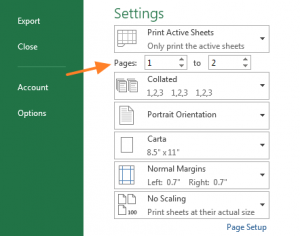
Note that it is also possible to only print the Active Sheets or to print the Entire Workbook. Fill in the two empty boxes near the top of the Settings pane to only print specific pages of your document.
Printing multiple copies of your Excel sheet
If you want to print multiple copies of your workbook, you can easily do that too by changing the Copies number in the printing pane as follows:
1. Click on the File tab on the top left-hand corner, and afterwards select Print.
2. Look for the Copies box located next to the Print button, and using the arrows select the desired amount of copies.
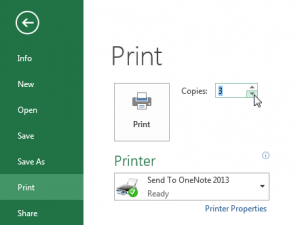
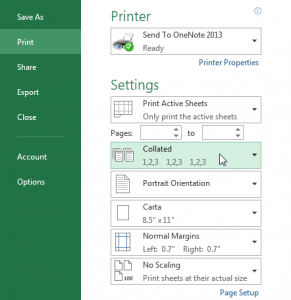
3. If a worksheet consists of multiple pages you have the option to print Collated or Uncollated.
Uncollatedprints X amount of copies of page 1, X amount of page 2, and so on.Collatedwill print the entire worksheet and repeat this process X amount of times.
Changing the Page margins for printing
Complete the following steps adjust the page margins when printing your Excel worksheet.
1. Click on the File tab on the top left-hand corner, and afterwards select Print.
2. Choose one of the predefined margins (Normal, Wide, Narrow) from the Margins drop-down list under the Settings pane.
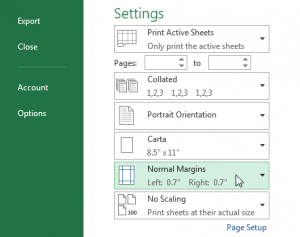
3. You have the option to create your own margin boundaries by either selecting Custom Margins on the bottom of the Margins drop-down list, or by selecting Show Margins in the bottom-right corner of the screen.
Note that selecting Show Margins requires you to set your margins manually, whereas you input values to set your margins when selecting Custom Margins from the Margins drop-down.

Speak Your Mind